There are certain cookies that instantly transport me back in time, and this Wind Mill Cookies Recipe is one of them. I still remember the first time I tasted these crisp, spiced cookies delicately flavored with cinnamon and warm baking spices, shaped like charming little windmills. They felt nostalgic even then, like something passed down through generations.
Windmill cookies have a way of making everyday moments feel special. They’re not flashy or over-the-top, but quietly comforting.
Over the years, I’ve tested and refined this recipe to strike the perfect balance between crisp edges, lightly sweet centers, and that unmistakable spiced aroma that fills the kitchen as they bake.
If you’ve been searching for an authentic, bakery-style wind mill cookies recipe that’s easy to follow and reliably delicious, you’re in the right place.
What Is a Wind Mill Cookies Recipe?
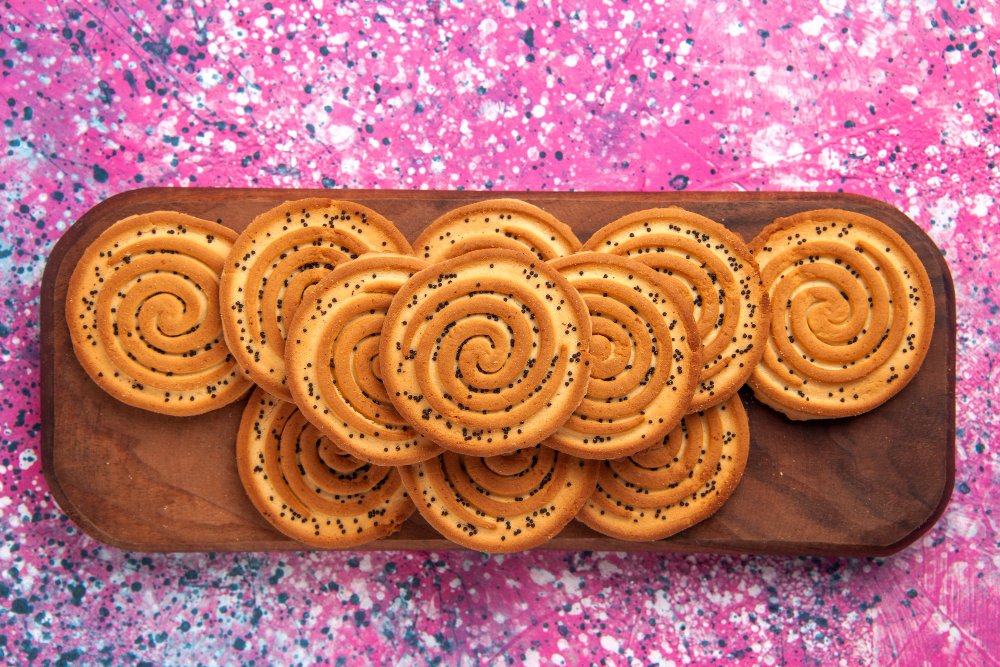
Windmill cookies often known as Dutch windmill cookies or spiced windmill biscuits—are thin, crisp cookies traditionally flavored with warm spices like cinnamon, nutmeg, and cloves.They’re most recognizable by their iconic windmill shape, inspired by traditional Dutch culture.
These cookies are closely related to speculaas cookies, a classic European spiced biscuit, but windmill cookies are typically a bit simpler in flavor and texture. They’re lightly sweet, aromatic rather than sugary, and designed to be crisp all the way through.
Unlike soft sugar cookies or chewy ginger cookies, a traditional wind mill cookies recipe focuses on snap, structure, and spice-forward flavor perfect for pairing with coffee or tea.
Why You’ll Love This Recipe
- Perfectly crisp texture with clean edges
- Warm, balanced spice flavor (not overpowering)
- Simple pantry ingredients
- Easy to roll, cut, and bake
- Great for holidays, gifting, or everyday snacking
- Naturally dairy-optional and easy to adapt
This recipe is ideal if you love old-fashioned spiced cookies, thin rolled cookies, or European-style biscuits.
Ingredients Overview
Here’s everything you’ll need for this homemade wind mill cookies recipe, along with why each ingredient matters.
- 2 ¼ cups all-purpose flour – Provides structure and crispness
- ¾ cup brown sugar (packed) – Adds depth and subtle molasses flavor
- ½ cup unsalted butter, softened – Creates richness and helps with browning
- 1 large egg – Binds the dough and adds stability
- 1 teaspoon ground cinnamon – The dominant warm spice
- ¼ teaspoon ground nutmeg – Adds complexity
- ¼ teaspoon ground cloves – Traditional and aromatic
- ¼ teaspoon ground ginger – Gentle warmth without heat
- ½ teaspoon baking powder – Light lift without softness
- ¼ teaspoon salt – Balances sweetness
- 1 teaspoon vanilla extract – Rounds out the flavors

Ingredient Substitutions
- Gluten-free: Use a 1:1 gluten-free baking flour blend
- Dairy-free: Replace butter with plant-based butter
- Lower sugar: Reduce brown sugar to ⅔ cup for a less sweet cookie
Step-by-Step Instructions
Cream the Butter and Sugar: In a large bowl, cream the softened butter and brown sugar until light and fluffy, about 2–3 minutes.
Add Wet Ingredients: Mix in the egg and vanilla extract until fully combined and smooth.
Combine Dry Ingredients: In a separate bowl, whisk together flour, cinnamon, nutmeg, cloves, ginger, baking powder, and salt.
Make the Dough: Gradually add the dry ingredients to the wet mixture. Mix until a firm but pliable dough forms.
Chill the Dough: Wrap the dough in plastic wrap and refrigerate for at least 1 hour. This helps prevent spreading and improves flavor.
Roll and Cut: Preheat oven to 350°F (175°C). Roll the dough on a lightly floured surface to about ⅛-inch thickness. Cut using windmill-shaped cookie cutters.
Bake: Place cookies on a parchment-lined baking sheet. Bake for 9–11 minutes, until edges are lightly golden.
Cool: Let cookies cool on the baking sheet for 2 minutes, then transfer to a wire rack to cool completely.
Expert Tips for Best Results
- Roll the dough thin for classic crisp windmill cookies
- Always chill the dough before cutting
- Avoid overbaking—cookies firm up as they cool
- Use parchment paper to prevent sticking and browning issues
- Measure spices carefully; balance is key
Common mistake: adding too much flour while rolling, which can make the cookies dry.
Variations & Substitutions
Flavor Variations
- Add ¼ teaspoon cardamom for a Nordic twist
- Include orange zest for brightness
- Brush baked cookies with a light honey glaze
Dietary Adaptations
- Vegan windmill cookies: Use flax egg and vegan butter
- Gluten-free windmill cookies: Use certified gluten-free flour blend
- Low-spice version: Reduce cloves and nutmeg by half
Storage & Make-Ahead Instructions
- Room temperature: Store in an airtight container for up to 10 days
- Freezing baked cookies: Freeze up to 2 months
- Freezing dough: Wrap tightly and freeze for up to 3 months
Let frozen dough thaw overnight in the refrigerator before rolling.
Frequently Asked Questions (FAQ)
What are windmill cookies made of?
Windmill cookies are made with flour, butter, brown sugar, eggs, and warm spices like cinnamon and cloves.
Are windmill cookies the same as speculaas?
They’re similar, but speculaas often has stronger spice blends and sometimes almond flavoring.
How do I keep windmill cookies crisp?
Bake them thin, cool completely, and store in an airtight container.
Can I make windmill cookies without a cutter?
Yes. Use a knife to cut rectangles or circles instead.
Why did my windmill cookies spread?
The dough may not have been chilled long enough, or the butter was too soft.
Can I make this wind mill cookies recipe ahead of time?
Absolutely. The dough can be prepared days in advance and refrigerated or frozen.
Final Thoughts & Serving Suggestions
This Wind Mill Cookies Recipe is one of those timeless classics that never goes out of style. Serve these cookies with coffee, tea, or hot chocolate, or package them as a thoughtful homemade gift during the holidays.
They’re perfect for cookie platters, cultural celebrations, or quiet afternoons when you want something simple and comforting. Once you make them, I have a feeling they’ll become a repeat favorite in your kitchen just like they are in mine.
If you’re building a traditional cookie collection or exploring old-world baking, this recipe is a beautiful place to start.