Some desserts feel like a warm memory, and banana pudding is one of them. Growing up, this was the kind of dish that showed up at family gatherings, Eid dinners, potlucks, and Sunday lunches, always in a big glass bowl, layered generously, and scraped clean by the end. What makes this version special is its simplicity and richness.
This banana pudding recipe with condensed milk delivers that nostalgic flavor while staying incredibly easy and reliable, even for beginners.
Condensed milk brings a silky sweetness that replaces complicated custards or stovetop steps. The result is a creamy, well-balanced pudding with bold banana flavor, soft cookies, and a luxurious texture that sets beautifully in the fridge.
It’s the kind of dessert you make once and then keep coming back to because it works every single time.
What is a Banana Pudding Recipe with Condensed Milk?
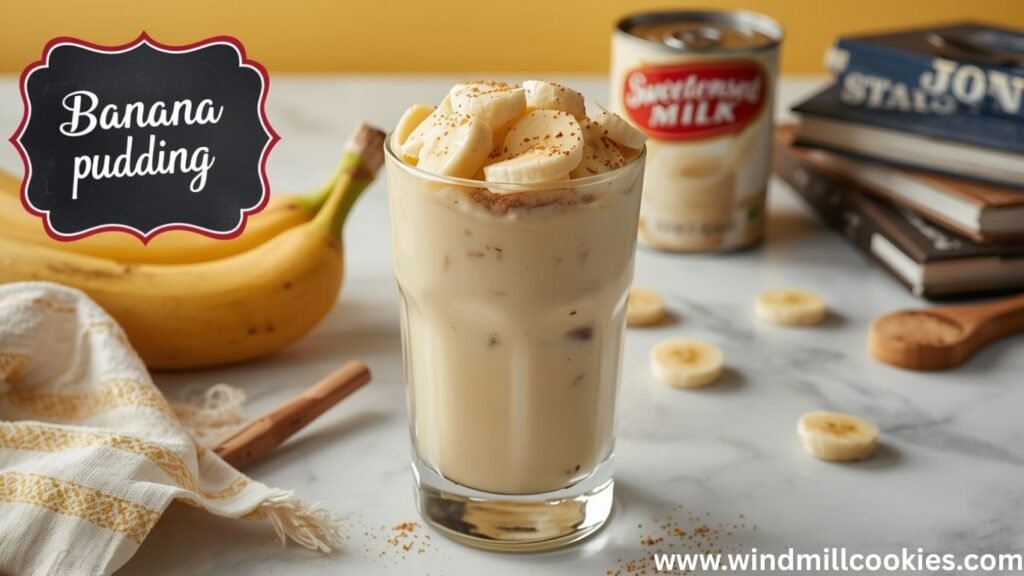
Banana pudding with condensed milk is a no-bake or lightly cooked dessert made by layering fresh bananas, vanilla wafers (or biscuits), and a creamy pudding mixture sweetened with sweetened condensed milk.
Unlike traditional custard-based banana pudding that relies on egg yolks and stovetop cooking, this version is faster, smoother, and more forgiving.
The origins of banana pudding trace back to Southern American cuisine, where it became a staple comfort dessert in the early 20th century.
The condensed milk variation gained popularity because it simplified the process while adding depth and richness. Compared to classic banana custard pudding, this recipe has a creamier mouthfeel, slightly caramelized sweetness, and longer fridge stability.
Why You’ll Love This Recipe
- Rich, creamy texture without eggs or complicated steps
- Perfect balance of sweetness and banana flavor
- Beginner-friendly and nearly foolproof
- No-bake option available
- Ideal for parties, family gatherings, and make-ahead desserts
- Easily customizable for dietary needs
- Uses simple, affordable pantry ingredients
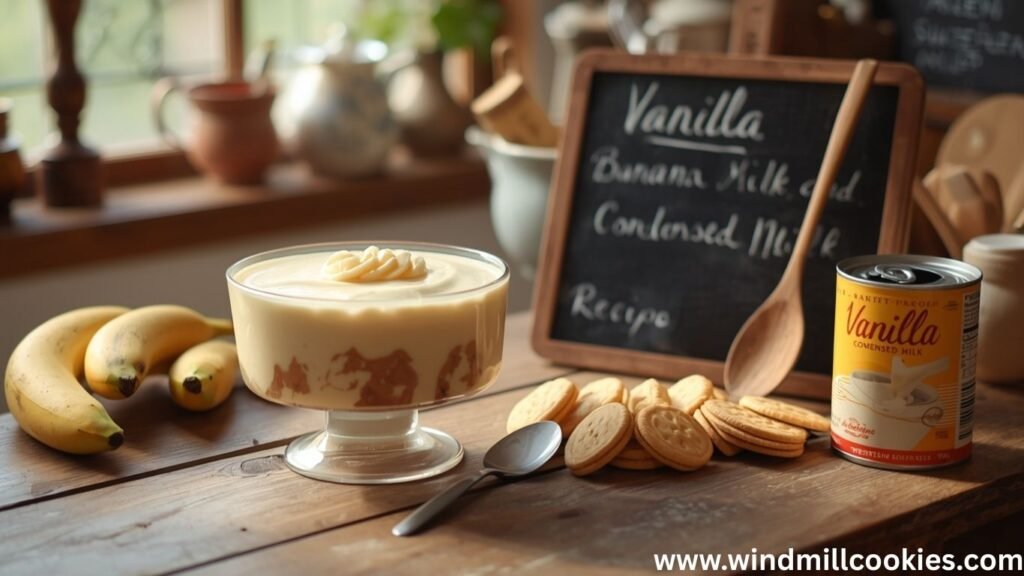
Ingredients Overview
Below is everything you need for the best banana pudding with condensed milk. Each ingredient plays a specific role in flavor and texture.
Main Ingredients
- Sweetened condensed milk – 1 can (395 g / 14 oz): Adds sweetness, creaminess, and depth without extra sugar.
- Cold whole milk – 2 cups (480 ml): Thins the condensed milk and helps the pudding set properly.
- Instant vanilla pudding mix – 1 box (3.4 oz / 96 g): Creates structure and smooth texture. Choose instant, not cook-and-serve.
- Heavy whipping cream – 1 cup (240 ml): Whipped into soft peaks for lightness and volume.
- Ripe bananas – 4 to 5 medium: Use ripe but firm bananas for the best flavor and appearance.
- Vanilla wafers or tea biscuits – 200 g (about 7 oz): Provide structure and soak up the pudding beautifully.
- Pure vanilla extract – 1 teaspoon: Enhances overall flavor.
Optional Substitutions
- Use plant-based condensed milk and almond or oat milk for a dairy-free option.
- Swap vanilla wafers for gluten-free cookies if needed.
- Add cream cheese (½ cup, softened) for a richer, cheesecake-style pudding.
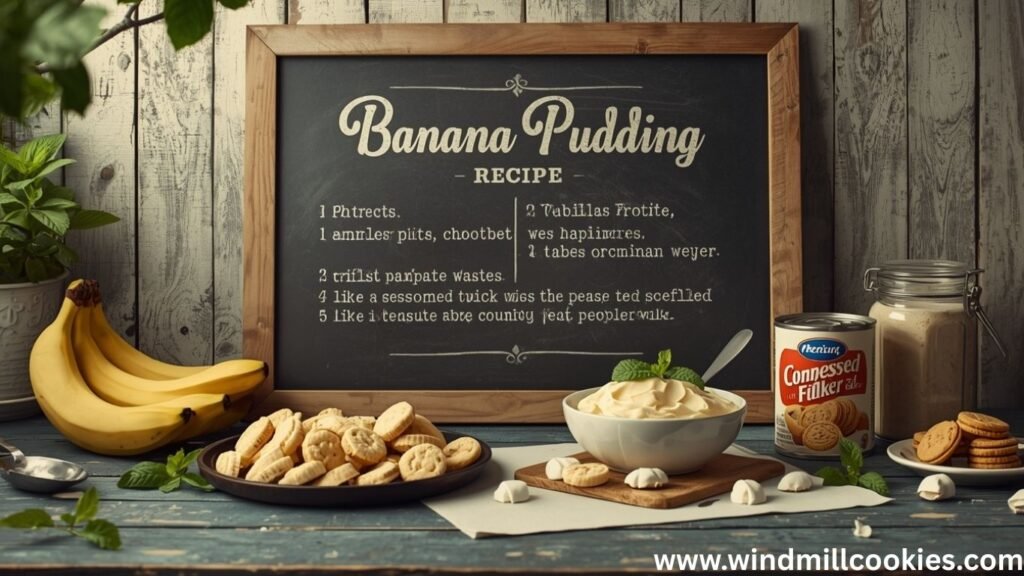
Step-by-Step Instructions
Prepare the Pudding Base
In a large mixing bowl, add 2 cups (480 ml) cold whole milk and 1 box (3.4 oz / 96 g) instant vanilla pudding mix. Whisk briskly for about 2 minutes until the mixture thickens and looks smooth. Cold milk is essential here—it helps the pudding set quickly and evenly.
Next, pour in 1 can (395 g / 14 oz) sweetened condensed milk and 1 teaspoon pure vanilla extract. Whisk again until fully combined. The mixture should look glossy, rich, and lump-free.
Let the pudding rest for 5 minutes. This short setting time creates a perfectly thick, silky-smooth base that holds layers beautifully without becoming heavy.
Whip the Cream
Pour 1 cup (240 ml) cold heavy whipping cream into a clean, chilled mixing bowl. Using a hand mixer or stand mixer, beat on medium speed for 2–3 minutes until soft peaks form. The cream should look light, fluffy, and smooth, not stiff or grainy.
Cold cream is the secret to maximum volume and a stable texture. Stop mixing as soon as the cream holds gentle peaks when the whisk is lifted. Overwhipping can quickly turn it dense and buttery.
Perfectly whipped cream adds air, balance, and a luxurious mouthfeel, transforming the pudding into a cloud-like, bakery-quality dessert base.
Fold Everything Together
Add the freshly whipped cream made from 1 cup (240 ml) heavy whipping cream into the prepared pudding base. Use a wide spatula and gently fold, not stir, to protect the light, airy structure. Work in slow, sweeping motions from the bottom of the bowl to the top.
This step is where texture matters most. Folding gradually blends the thick pudding with the fluffy cream, creating a smooth, stable, and ultra-creamy mixture. Avoid rushing, as aggressive mixing can deflate the cream and make the pudding dense.
Once fully combined, the mixture should look pale, silky, and spoonable, with enough body to hold clean layers in the finished dessert.
Slice the Banana
Use 4 to 5 medium ripe bananas, preferably yellow with light brown speckles for peak flavor and firm texture. Peel the bananas and slice them into ¼-inch thick rounds using a sharp knife. Even slices ensure consistent layering and a balanced bite in every spoonful.
Always slice the bananas just before assembling the pudding. Fresh slicing prevents browning and keeps the flavor clean and bright. Avoid overripe bananas, as they soften too quickly and can turn mushy once chilled.
Properly sliced bananas add natural sweetness, structure, and contrast, creating defined layers that hold their shape while blending smoothly into the creamy pudding base.
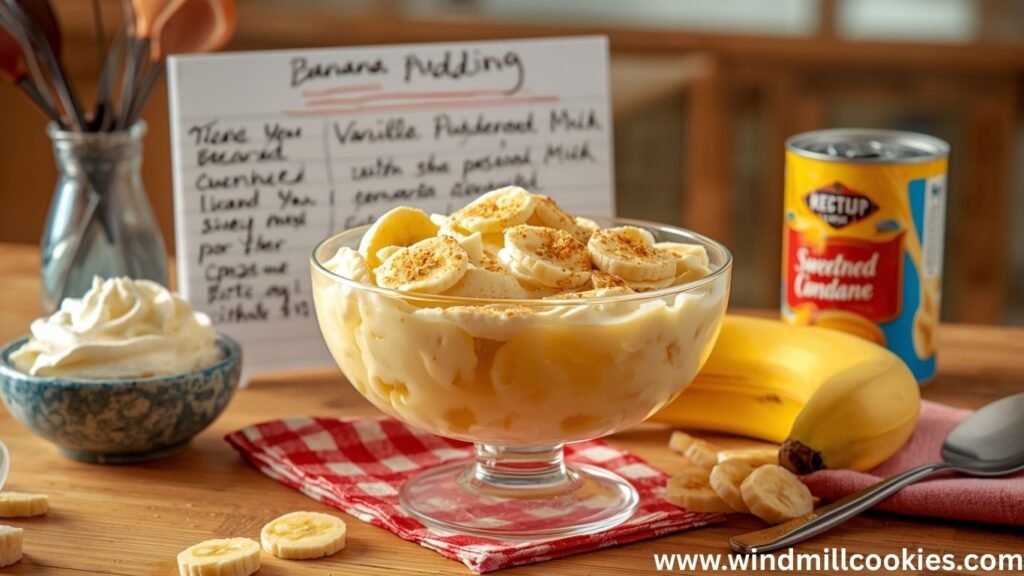
Assemble the Layers
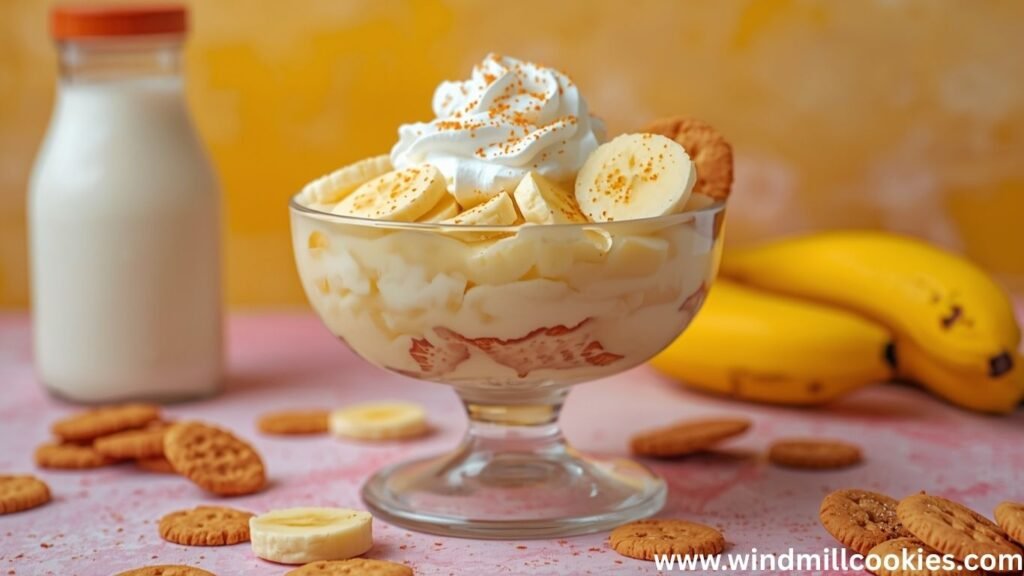
Choose a deep serving dish or trifle bowl for clean, visible layers. Start with 200 g (7 oz) vanilla wafers or tea biscuits, arranging a single layer across the bottom.
Top evenly with sliced bananas from 4 to 5 medium bananas, then spread a thick layer of the prepared pudding mixture.
Repeat the process, building steady layers of cookies, bananas, and cream. Use the back of a spoon to smooth each pudding layer for a polished finish. Finish with pudding on top to seal in moisture.
Proper layering allows the cookies to soften evenly while keeping the dessert structured, creamy, and visually appealing.
Chill and Set
Once assembled, cover the dish tightly with plastic wrap to protect freshness and texture. Transfer the pudding to the refrigerator and chill for at least 4 hours, or ideally 8 to 12 hours, for the best results.
This resting time allows the pudding to fully set while the cookies soften into a cake-like layer. During chilling, the flavors meld, and the structure stabilizes, creating a rich, sliceable consistency.
Avoid rushing this step, as proper chilling is key to a firm yet creamy finish. Before serving, the pudding should feel cold, set, and smooth, with perfectly blended layers that hold their shape.
Expert Tips for Best Results
Always use 2 cups (480 ml)of cold, whole milk to help the pudding set fast and evenly. Warm milk can cause a loose texture. Whip 1 cup (240 ml) heavy cream just to soft peaks overwhipped cream makes the pudding dense instead of silky.
Choose 4 to 5 firm, ripe bananas for clean layers and natural sweetness. Slice them right before assembling to avoid browning. Fora deeper flavor, use 1 teaspoon pure vanilla extract instead of artificial flavoring.
Chill the assembled pudding for 8 hours or overnight. This resting time allows the wafers to soften evenly and the layers to hold their shape, creating a smooth, bakery-quality finish.
Variations & Substitutions
For a richer twist, blend ½ cup (120 g) softened cream cheese into the pudding base for a cheesecake-style texture. To add chocolate depth, layer 200 g (7 oz) chocolate wafers instead of vanilla.
A caramel note works beautifully by drizzling 2 tablespoons of dulce de leche between layers. For a lighter option, replace half the whipped cream with ½ cup (120 g) Greek yogurt.
To make it dairy-free, use 1 can (395 g) of coconut condensed milk, 2 cups (480 ml) almond milk, and dairy-free whipped topping. Gluten-free biscuits can be swapped in equal amounts without affecting structure or flavor.
Storage & Make-Ahead Instructions
Banana pudding can be stored in the refrigerator for up to 3 days in an airtight container.
The flavor actually improves after the first day. Avoid freezing, as the bananas and pudding texture will degrade once thawed.
For make-ahead events, assemble the pudding up to 24 hours in advance for the best texture and flavor.
Frequently Asked Questions
Can I make banana pudding with condensed milk without pudding mix?
Yes, but you’ll need to cook a custard using milk and cornstarch. The pudding mix version is faster and more stable.
How ripe should bananas be for banana pudding?
Use ripe bananas that are fragrant and yellow with minimal brown spots. Overripe bananas can turn mushy.
Can I use evaporated milk instead of condensed milk?
No. Evaporated milk is unsweetened and much thinner. Condensed milk is essential for sweetness and texture.
Why is my banana pudding runny?
This usually happens if the milk wasn’t cold, the pudding wasn’t set long enough, or whipped cream was overmixed.
Is banana pudding with condensed milk no-bake?
Yes. This version requires no baking and sets completely in the refrigerator.
Can I make this recipe gluten-free?
Absolutely. Just use certified gluten-free cookies or biscuits.
How long does banana pudding last in the fridge?
It stays fresh for up to 3 days when properly covered and refrigerated.
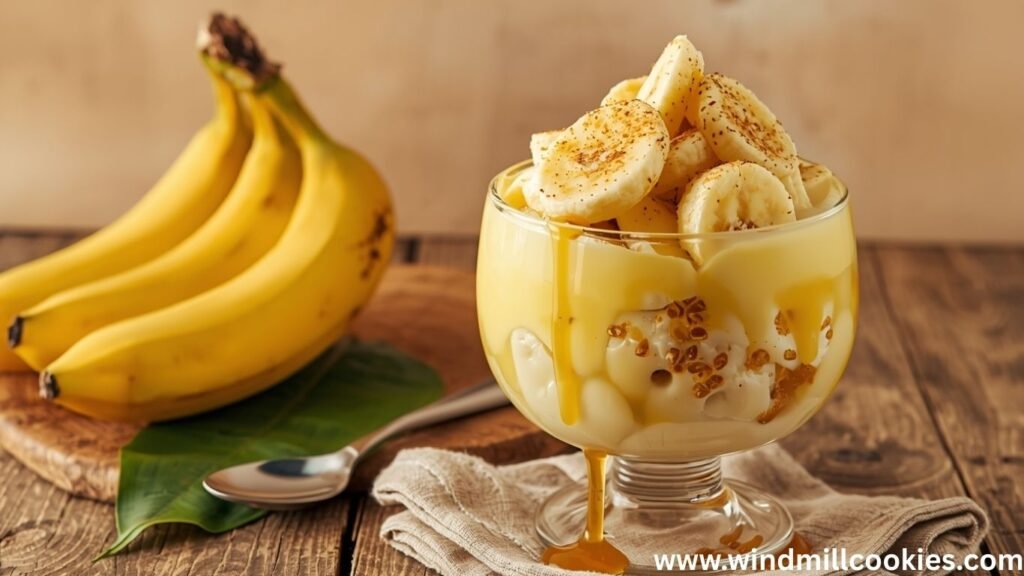
Final Thoughts & Serving Suggestions
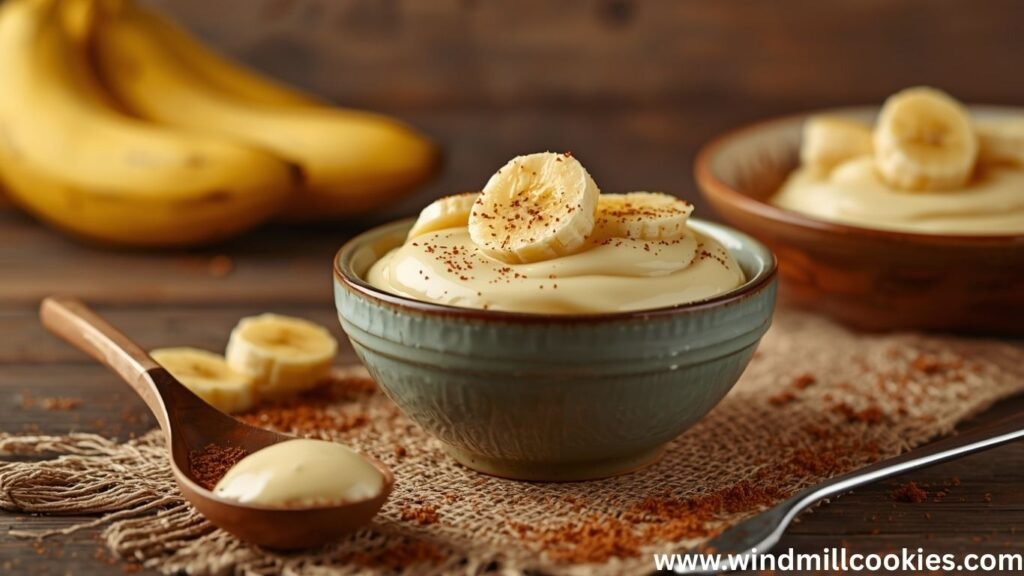
This banana pudding recipe with condensed milk is the kind of dessert that never goes out of style. It’s creamy, comforting, and incredibly easy to make, whether you’re preparing it for guests or just treating yourself.
Serve it chilled in individual glasses for a polished look, or scoop it family-style for casual gatherings. It pairs beautifully with coffee, tea, or even fresh berries on the side.
If you’re looking for a reliable, crowd-pleasing dessert that feels homemade and indulgent without being complicated, this recipe truly delivers. Once you try it, it’s bound to become a regular in your dessert rotation.