There’s something deeply nostalgic about milk chocolate. I still remember sneaking pieces from the kitchen drawer as a child, letting that creamy sweetness slowly melt on my tongue.
But it wasn’t until I started developing my own recipes that I realized how incredibly satisfying it is to make a recipe for milk chocolate from scratch. Most people assume chocolate-making is complicated or requires professional equipment.
The truth? With the right ingredients, proper temperature control, and a little patience, you can create smooth, glossy, homemade milk chocolate that rivals your favorite chocolate bars.
This version is rich yet balanced, perfectly sweet, and wonderfully creamy. If you’ve ever wondered how to make milk chocolate at home with simple ingredients, you’re in exactly the right place.

What is the recipe for Milk Chocolate?
A recipe for milk chocolate is a method of combining cocoa solids, cocoa butter, milk powder, and a sweetener to create a creamy chocolate with a smooth texture and balanced sweetness.
Milk chocolate differs from dark chocolate because it contains milk solids, which give it:
- A lighter color
- Creamier texture
- Sweeter flavor profile
Traditional chocolate originated in Mesoamerica, but milk chocolate as we know it was popularized in 19th-century Europe when milk powder was added to cocoa mixtures.
Unlike store-bought versions that may contain emulsifiers or additives, this homemade milk chocolate recipe keeps things simple and pure.
Why You’ll Love This Recipe
- Ultra creamy texture without complicated machinery
- Made with real cocoa butter and high-quality cocoa powder
- No preservatives or artificial ingredients
- Customizable sweetness level
- Beginner-friendly chocolate-making process
- Perfect for candy bars, chocolate molds, or dessert toppings
- Naturally gluten-free
If you love silky smooth chocolate that melts beautifully, this recipe delivers every time.
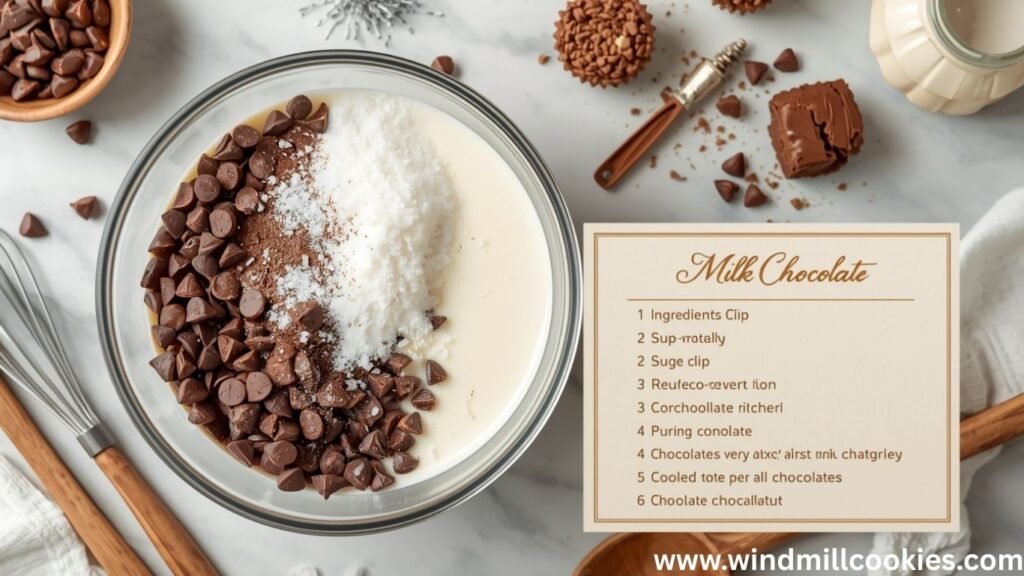
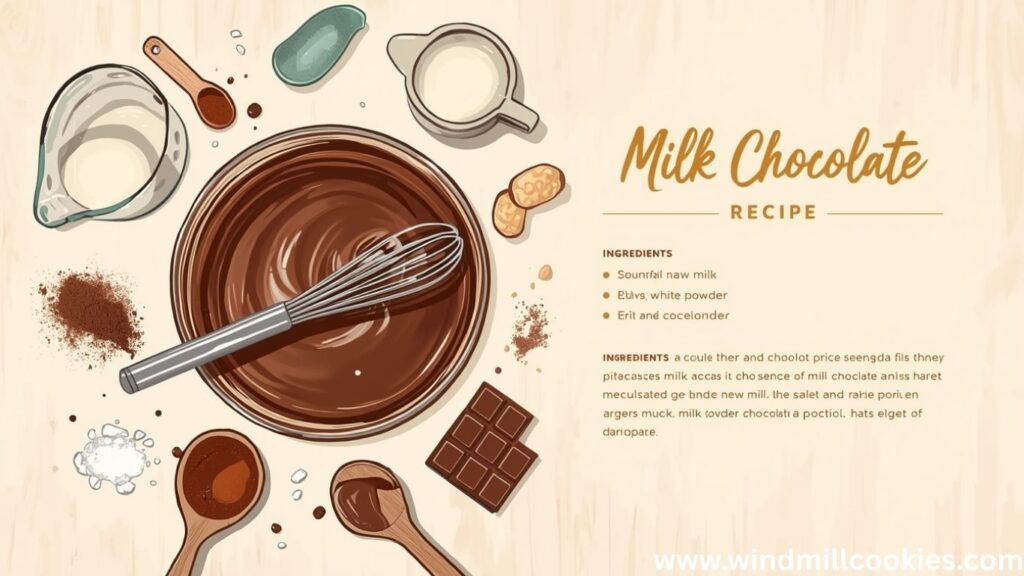
Ingredients Overview
Here’s everything you need to make this creamy homemade milk chocolate:
Core Ingredients
- 1 cup (100g) cocoa butter, finely chopped
- ¾ cup (75g) unsweetened cocoa powder
- ½ cup (60g) whole milk powder
- ½ cup (100g) powdered sugar (adjust to taste)
- 1 teaspoon pure vanilla extract
- Pinch of fine sea salt
Ingredient Notes
- Cocoa Butter: This is essential for that classic snap and smooth mouthfeel. Use food-grade cocoa butter for best results.
- Unsweetened Cocoa Powder: Choose high-quality natural cocoa powder for deep chocolate flavor. Dutch-processed cocoa can also be used for a smoother taste.
- Milk Powder: Whole milk powder gives richness and creaminess. For a dairy-free version, use coconut milk powder.
- Powdered Sugar: Powdered sugar blends more smoothly than granulated sugar, preventing a grainy chocolate texture.
- Vanilla & Salt: These enhance flavor and balance sweetness.
Step-by-Step Instructions
Making milk chocolate at home is easier than you think. Follow these steps carefully for the best results.
Prepare Your Double Boiler
Start by pouring 1–2 inches (about 240 ml) of water into a small saucepan. Bring it to a gentle simmer over medium-low heat. The water should steam lightly, not boil aggressively. Controlled heat is the secret to silky smooth chocolate texture.
Place a heatproof glass or stainless-steel bowl over the saucepan, making sure the bottom does not touch the water. This indirect heat method protects 1 cup (100g) of finely chopped cocoa butter from overheating or burning.
Keep the temperature steady and stir occasionally. Consistent, gentle warmth ensures your homemade milk chocolate melts evenly, creating a glossy, professional-quality base ready for blending.
Melt the Cocoa Butter
Add 1 cup (100g) of finely chopped, food-grade cocoa butter to your prepared double boiler. Keep the heat low and steady. Gentle melting is essential for achieving that ultra-smooth, professional-quality texture.
Stir slowly as it softens. Cocoa butter should melt gradually, not rapidly. The ideal temperature is between 110–115°F (43–46°C). Overheating can damage flavor and affect the final snap of your homemade milk chocolate.
Make sure no steam or water touches the bowl. Even a small amount of moisture can ruin the mixture. Once fully melted and glossy, your cocoa butter is ready to transform into rich, creamy milk chocolate perfection.
Sift Dry Ingredients
In a separate bowl, combine ¾ cup (75g) unsweetened cocoa powder, ½ cup (60g) whole milk powder, and ½ cup (100g) powdered sugar. These three ingredients create the rich flavor, creamy body, and balanced sweetness of your homemade milk chocolate.
Use a fine-mesh sieve to sift everything together at least once, preferably twice. This step removes lumps and ensures an ultra-smooth, velvety texture. Skipping this can result in grainy chocolate.
Sifting also evenly distributes the milk powder and sugar, helping them blend seamlessly into the melted cocoa butter. Smooth dry ingredients are the foundation of glossy, professional-quality chocolate.
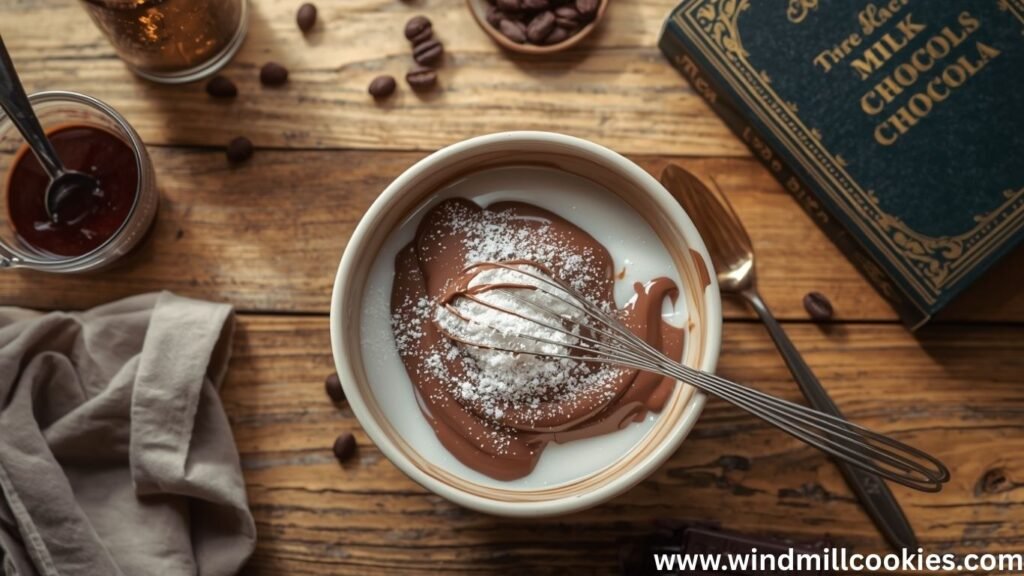
Combine Ingredients
Slowly add the sifted dry mixture: ¾ cup (75g) cocoa powder, ½ cup (60g) whole milk powder, and ½ cup (100g) powdered sugar into the melted 1 cup (100g) cocoa butter. Add it in small batches, whisking continuously for a silky smooth consistency.
Stir gently but thoroughly. This gradual blending prevents clumping and guarantees a luxuriously creamy texture. Scrape the sides of the bowl to ensure everything incorporates evenly.
Keep the heat low and steady. The mixture should look glossy, fluid, and rich. Proper combining at this stage is the secret to achieving professional-quality, melt-in-your-mouth homemade milk chocolate.
Add Flavorings
Once your chocolate base is smooth and glossy, stir in 1 teaspoon pure vanilla extract and a small pinch (about ⅛ teaspoon) fine sea salt. These simple additions elevate the flavor instantly, creating a deeper, more luxurious taste.
Add the vanilla slowly while whisking continuously. This ensures even distribution and prevents separation. The sea salt enhances sweetness and intensifies the rich cocoa notes without overpowering the creamy profile.
Keep the mixture warm and fluid as you stir for 1–2 minutes. Proper blending at this stage guarantees balanced flavor, silky texture, and that irresistible, professional-quality milk chocolate finish.
Blend for Extra Smoothness (Optional)
For ultra-silky, melt-in-your-mouth texture, blend the warm chocolate mixture before molding. After combining 1 cup (100g) melted cocoa butter, ¾ cup (75g) cocoa powder, ½ cup (60g) milk powder, and ½ cup (100g) powdered sugar, use an immersion blender directly in the bowl.
Blend for 1–2 minutes on low speed. Keep the mixture warm and fluid while blending. This step refines the particles and creates a glossy, professional-quality finish that feels luxuriously smooth.
Avoid incorporating air by keeping the blender fully submerged. Proper blending transforms good homemade milk chocolate into exceptional, bakery-level perfection.
Pour into Molds
Once your chocolate mixture, made with 1 cup (100g) cocoa butter, ¾ cup (75g) cocoa powder, ½ cup (60g) milk powder, and ½ cup (100g) powdered sugar, is silky and glossy, carefully pour it into clean, dry silicone molds.
Work slowly and steadily to avoid spills. Tap the molds gently on the counter to release air bubbles and ensure a smooth, professional finish. This simple step creates that flawless, bakery-style surface.
Fill each cavity evenly for consistent thickness. Proper pouring guarantees beautiful chocolate bars with a clean snap and creamy texture once fully set and cooled.
Set the Chocolate
After pouring the mixture made from 1 cup (100g) cocoa butter, ¾ cup (75g) cocoa powder, ½ cup (60g) milk powder, and ½ cup (100g) powdered sugar into molds, allow it to set properly for the perfect snap and silky finish.
Place the molds on a flat tray and refrigerate for 1–2 hours. Keep them level to ensure even thickness. Avoid moving the molds during this time to prevent uneven surfaces.
For the best texture, let the chocolate firm up gradually. Once fully hardened and glossy, gently remove from molds. Proper setting locks in that creamy, melt-in-your-mouth milk chocolate texture.
Unmold and Enjoy
Once fully set, remove the chocolate made with 1 cup (100g) cocoa butter, ¾ cup (75g) cocoa powder, ½ cup (60g) milk powder, and ½ cup (100g) powdered sugar from the refrigerator. The surface should look glossy and feel firm to the touch.
Gently press the bottom of each silicone mold to release the chocolate. It should pop out cleanly with sharp edges and a smooth finish. If needed, allow it to sit at room temperature for 2–3 minutes before unmolding.
Break into pieces or leave as bars. Enjoy the creamy, melt-in-your-mouth milk chocolate immediately or store properly for later indulgence.

Expert Tips for Best Results
Use 1 cup (100g) high-quality cocoa butter and sift ¾ cup (75g) cocoa powder, ½ cup (60g) milk powder, and ½ cup (100g) powdered sugar for smooth chocolate. Keep water away; even a drop can seize the mixture.
Maintain gentle heat while melting. Stir continuously for a glossy, creamy texture. Blend optionally for an ultra-silky finish. Use silicone molds for clean edges.
Tap molds to remove air bubbles. Store in a cool, dry place to preserve snap and flavor. Small details make homemade milk chocolate professional-quality every time.
Making chocolate is simple, but small details matter.
- Keep Moisture Away: Even a drop of water can cause chocolate to seize and become grainy.
- Control Temperature: Overheating cocoa butter can affect texture. Keep the heat gentle and steady.
- Sift Dry Ingredients Thoroughly: This prevents gritty chocolate.
- Blend for Smoothness: If you want professional-level creaminess, use a high-speed blender or food processor.
- Use Silicone Molds: They make removal easy and give clean edges.
Common Mistakes to Avoid:
- Using granulated sugar instead of powdered sugar
- Overheating cocoa butter
- Skipping the sifting step
- Pouring chocolate before fully mixing
Variations & Substitutions
Customize your milk chocolate using 1 cup (100g) cocoa butter, ¾ cup (75g) cocoa powder, ½ cup (60g) milk powder, and ½ cup (100g) powdered sugar.
For dairy-free, swap milk powder with coconut milk powder. Use maple sugar or honey for natural sweetness. Add ¼ cup chopped nuts or dried fruit for texture.
Sprinkle flaky sea salt on top for a gourmet touch. Omit cocoa powder and increase milk powder to make creamy white chocolate. These simple swaps transform your chocolate while keeping it smooth, rich, and irresistible every time.
This easy milk chocolate recipe is highly customizable.
- Dairy-Free Milk Chocolate: Replace whole milk powder with coconut milk powder. It adds subtle coconut notes and works beautifully.
- Vegan Milk Chocolate: Use coconut milk powder and maple sugar instead of powdered sugar.
- Honey-Sweetened Chocolate: Swap powdered sugar with ⅓ cup honey, but note that the texture may be softer.
- Nutty Version: Add ¼ cup finely chopped roasted almonds or hazelnuts before pouring into molds.
- Sea Salt Milk Chocolate: Sprinkle flaky sea salt on top before setting.
- White Chocolate Variation: Omit cocoa powder and increase milk powder to ¾ cup for homemade white chocolate.

Storage & Make-Ahead Instructions
Room Temperature: Store in an airtight container in a cool, dry place for up to 2 weeks.
Refrigeration: Refrigerate for up to 1 month. Keep wrapped tightly to avoid absorbing odors.
Freezing
- Freeze for up to 3 months. Thaw gradually in the refrigerator before bringing to room temperature.
- Chocolate is sensitive to temperature changes, so avoid repeated melting and chilling.
Frequently Asked Questions
How do you make milk chocolate at home from scratch?
You melt cocoa butter, mix in cocoa powder, milk powder, and powdered sugar, then pour it into molds and allow it to set. Temperature control and proper mixing ensure a smooth texture.
Can I use regular milk instead of milk powder?
No. Liquid milk will cause the chocolate to seize. Milk powder is essential for proper consistency.
Why is my homemade milk chocolate grainy?
Graininess usually happens if ingredients weren’t sifted properly or the mixture overheated. Using powdered sugar and blending helps create smooth chocolate.
Is homemade milk chocolate healthier than store-bought?
It can be. Homemade chocolate contains no preservatives, artificial flavors, or stabilizers, and you control the sugar content.
Can I temper this milk chocolate?
Yes. For shiny, professional results, temper by cooling the melted chocolate to 82°F (28°C) and reheating gently to 86–88°F (30–31°C) before molding.
How long does homemade milk chocolate last?
Properly stored, it lasts up to 2 weeks at room temperature and up to 3 months in the freezer.
Final Thoughts on This Recipe for Milk Chocolate
There’s something incredibly rewarding about making your own recipe for milk chocolate at home. It transforms simple ingredients like cocoa butter, cocoa powder, and milk powder into something luxurious and comforting.
I love serving this creamy milk chocolate in homemade candy bars, breaking it into chunks for cookies, or melting it for chocolate ganache. It also makes a beautiful edible gift wrapped in parchment and tied with a string.
Whether you’re experimenting with chocolate-making for the first time or refining your technique, this homemade milk chocolate recipe gives you full control over flavor, sweetness, and texture.
Once you try it, you may never go back to store-bought chocolate again.